
Methi Na Thepla / Methi Thepla Recipe
I have been meaning to post this very popular Gujarati bread from a very long time but guess I have been busier making these for my kids and myself and eating them straightaway till I realise I need to add this methi flavoured bread in my space too. So here I am with the Methi Thepla recipe.
Methi Thepla are staple food in Gujarati Cuisine. It’s cooked almost daily in many Gujarati homes. I love eating methi thepla, lauki thepla and so do my kids  . These theplas are so soft and thin unlike our Punjabi Parathas. And once you start eating them there is no point keeping the count.
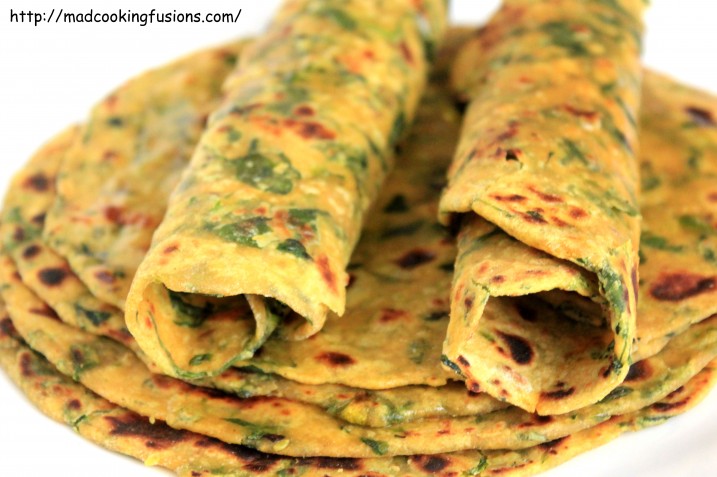
It is also a perfect travel food. They last long and have a great self life. They stay fresh for a couple of days at room temperature and tastes great with pickles too. Prepared with whole wheat flour & chick pea flour, these theplas are soft and can be eaten as it is also. My kids just roll them up and its so easy for them to have these. A nice way of sneaking vegetables like methi leaves by kneading them into a dough, best way to make kids eat greens. Best thing about these theplas are that they can also be eaten as snacks. You really don’t need to wait for a lunch or dinner time to have these.
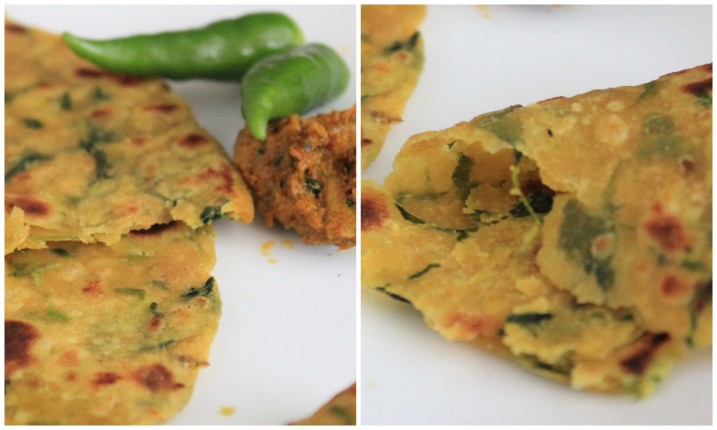
Wanna have some bite
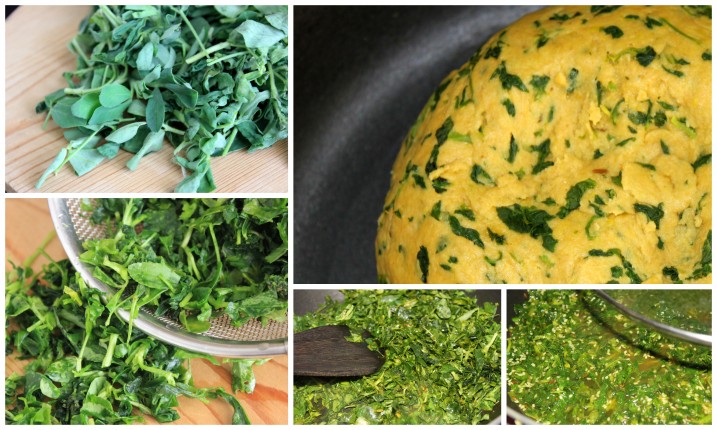
In the Punjabi Methi Paratha we just knead the dough with chopped methi leaves and few spices whereas in the thepla recipe we need to cook the methi leaves in water for few minutes along with the spices and minced ginger garlic. Then knead the dough with the cooked methi leaves and the same water we used while cooking the methi leaves. We add sugar to the mixture to remove the sour taste of methi to give a little pinch of sweetness in our theplas. There are various ways in which these thepla’s can be prepared, different methods of kneading the dough too, I have simply used water to knead the dough however many use sour yogurt too for this.
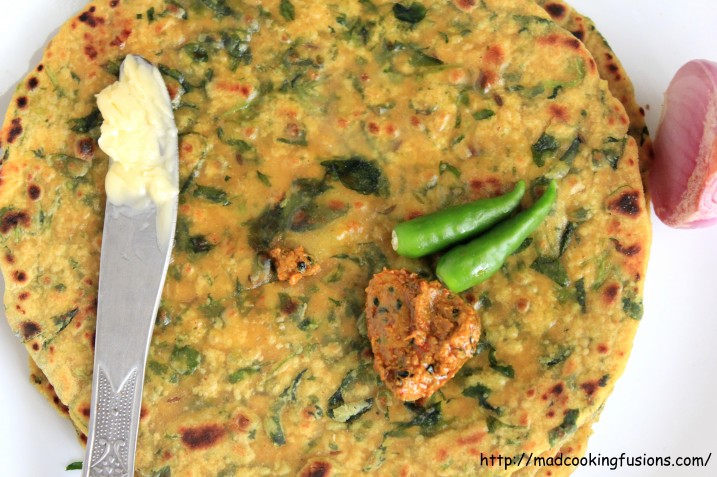
Being a typical Punju, I love eating these with pickles. However Methi Na Thepla tastes really good with Chunda (sweet and sour mango chutney). It is heavenly and please don’t ask me how many can I eat at a go , it’s a big secret . So try these at home for your loved ones and enjoy this yummy Gujarati Methi Thepla.

Ingredients
- • Whole Wheat Flour – 1 cup
- • Chick pea Flour – 1/3 cup
- • Methi Leaves – 1 cup (chopped) – I like to add more for the thepla’s ( you can adjust accordingly)
- • Sugar – 1 teaspoon
- • Sesame Seeds – 1 tablespoon
- • Minced Ginger / Garlic – 1 tablespoon
- • Turmeric Powder – ¼ teaspoon
- • Cumin Seeds – ¼ teaspoon
- • Salt to taste
- • Red Chilli Powder – ¼ teaspoon
- • Oil for cooking / kneading – 2 tablespoons
- • Water – 1 cup
Instructions
- Wash and chop the methi leaves.
- Take a non-stick kadai/wok and add 1 ½ tablespoon oil, heat the oil.
- Add cumin seeds and let it flutter, now add minced ginger garlic to it and stir for few seconds.
- Add turmeric powder and after few seconds add rest of the dry spices along with the sesame seeds except the salt.
- Add sugar to it now.
- Add the chopped methi leaves and stir well.
- Now add about ½ cup water and close the lid of the kadai let it simmer on low flame for few minutes. Occasionally stir in between.
- If required add little more of water to it and close the lid and again let it cook on low flame for about 5 minutes.
- Switch off the flame and let the mixture rest for few minutes before you start kneading the methi thepla dough.
- When it cools down, to make the dough, we need to combine the flours, add the Oil mix well till it is incorporated well with our hands. Now add the methi mixture slowly and knead the dough, use the same water in which we cooked the methi with the spices. Add salt now.
- Once the flour comes together in dough, knead it for few minutes. Add 1/2 teaspoon of oil in your hands and knead it again.
- You now need to cover this dough with a damp clean kitchen towel and let it rest for 20-25 minutes.
- After 25 minutes, heat the tawa on medium flame, divide the dough and make equal sized balls.
- Start preparing the thepla’s one by one.
- Take one ball and flatten it with your palms and sprinkle some whole wheat flour and start rolling it on a flat surface into a round shape like a chapati. It should be thin like a chapati only.
- Place the rolled thepla gently over the tawa and after 2- 3 seconds turn the side and ensure it does not stick on the tawa and allow it to cook on both the side till you feel it’s done.
- Apply oil on the thepla, spread it with the flat spatula and flip the side, press gently and turn.
- Apply oil on the other side too and press gently.
- Take off from the tawa.
- Serve immediately with pickle or yogurt.







{ 13 comments… read them below or add one }
Lovely description of this thepla. I know this is too delicious. Very perfect clicks.
Thanks you Sanoli
inviting dear
thank you Shama
This looks really yummy.. I almost make the same way. only difference is that I use some yogurt while kneading the dough..
Hey…yogurt is added by many in the dough, I will try adding yogurt next time
A fav in our home too!!! These are perfect theplas…Fabulous space u have here with mouthwatering recipes…Keep at it!!
Prathima Rao
Prats Corner
Thank you & Weclome to madcookingfusions . I am glad you liked my space!
When to put the chilli powder ?
At step 4, when you add all dry spices then only add in the chilli powder. Do lemme know incase you need more clarifications!
very lovely receipe madam thanks a lot for such a wonderful knowledge og thepla
thanks a lot madam for a such a wonderful knowledge of thepla we all loved it at my family
thank you Khyati and I am glad you and your family liked it.